Making Goat's Milk Soap

Goat’s Milk Soap, How to Make It
When I first started to have a bit of excess milk I heard a lot about goat’s milk soap. Milk soap is supposed to be super nourishing and moisturizing to the skin, and since DJ was struggling with dry skin I thought I’d give it a whirl.
There are a thousand recipes on the internet for goat’s milk soap, and even more articles on how to make soap. This is my process. I recommend any beginner research thoroughly and, if possible, find someone willing to help you make your first batches of soap.
First, you’ll need a few materials:
Lye – I found lye for sale on Amazon, but at the time my husband worked at a hardware store that sold lye in the plumbing department. It was intended as a drain cleaner. As long as it’s pure lye with no additives, it’ll work! (Even if it has a picture of a clogged pipe on the bottle!)
Oils – You can use a variety of oils in your soap making. The ones in this recipe can usually all be found at a local grocery store. For this recipe you’ll need Olive oil, Coconut oil. Grapeseed oil, and Avocado oil.
Mixing bowls, stick blender, spoons, and molds - Use only stainless steel or glass mixing containers, as the lye can be caustic to plastic. You can use old shoe boxes, pans, and pringles cans as molds, or you can use fancy silicone molds or plastic soap molds that come in all kinds of designs. Remember that you won't want to use any of these containers, pans, mixing spoons or stick blender for food, so use old pans and label them with sharpie or keep them in a dedicated spot.
Kitchen scale - Everything in soap making is measured by weight. So when it says "4 oz" of something, it does NOT mean half a cup! Use a kitchen scale to measure everything's weight in ounces.
Modifications to this recipe: Anytime you make soap, run your recipe through a lye calculator like this one to find out how much lye to use. Different oils will act differently so run your recipe through the lye calculator any time you make changes to the recipe, including substituting different oils. As always, pay attention to the ingredients you are using and look into how they are grown or harvested.
The recipe:
13 oz Goat’s milk, icy/frozen
6 oz lye
15 oz olive oil
12 oz coconut oil (melted)
11 oz grapeseed oil
2 oz avocado oil
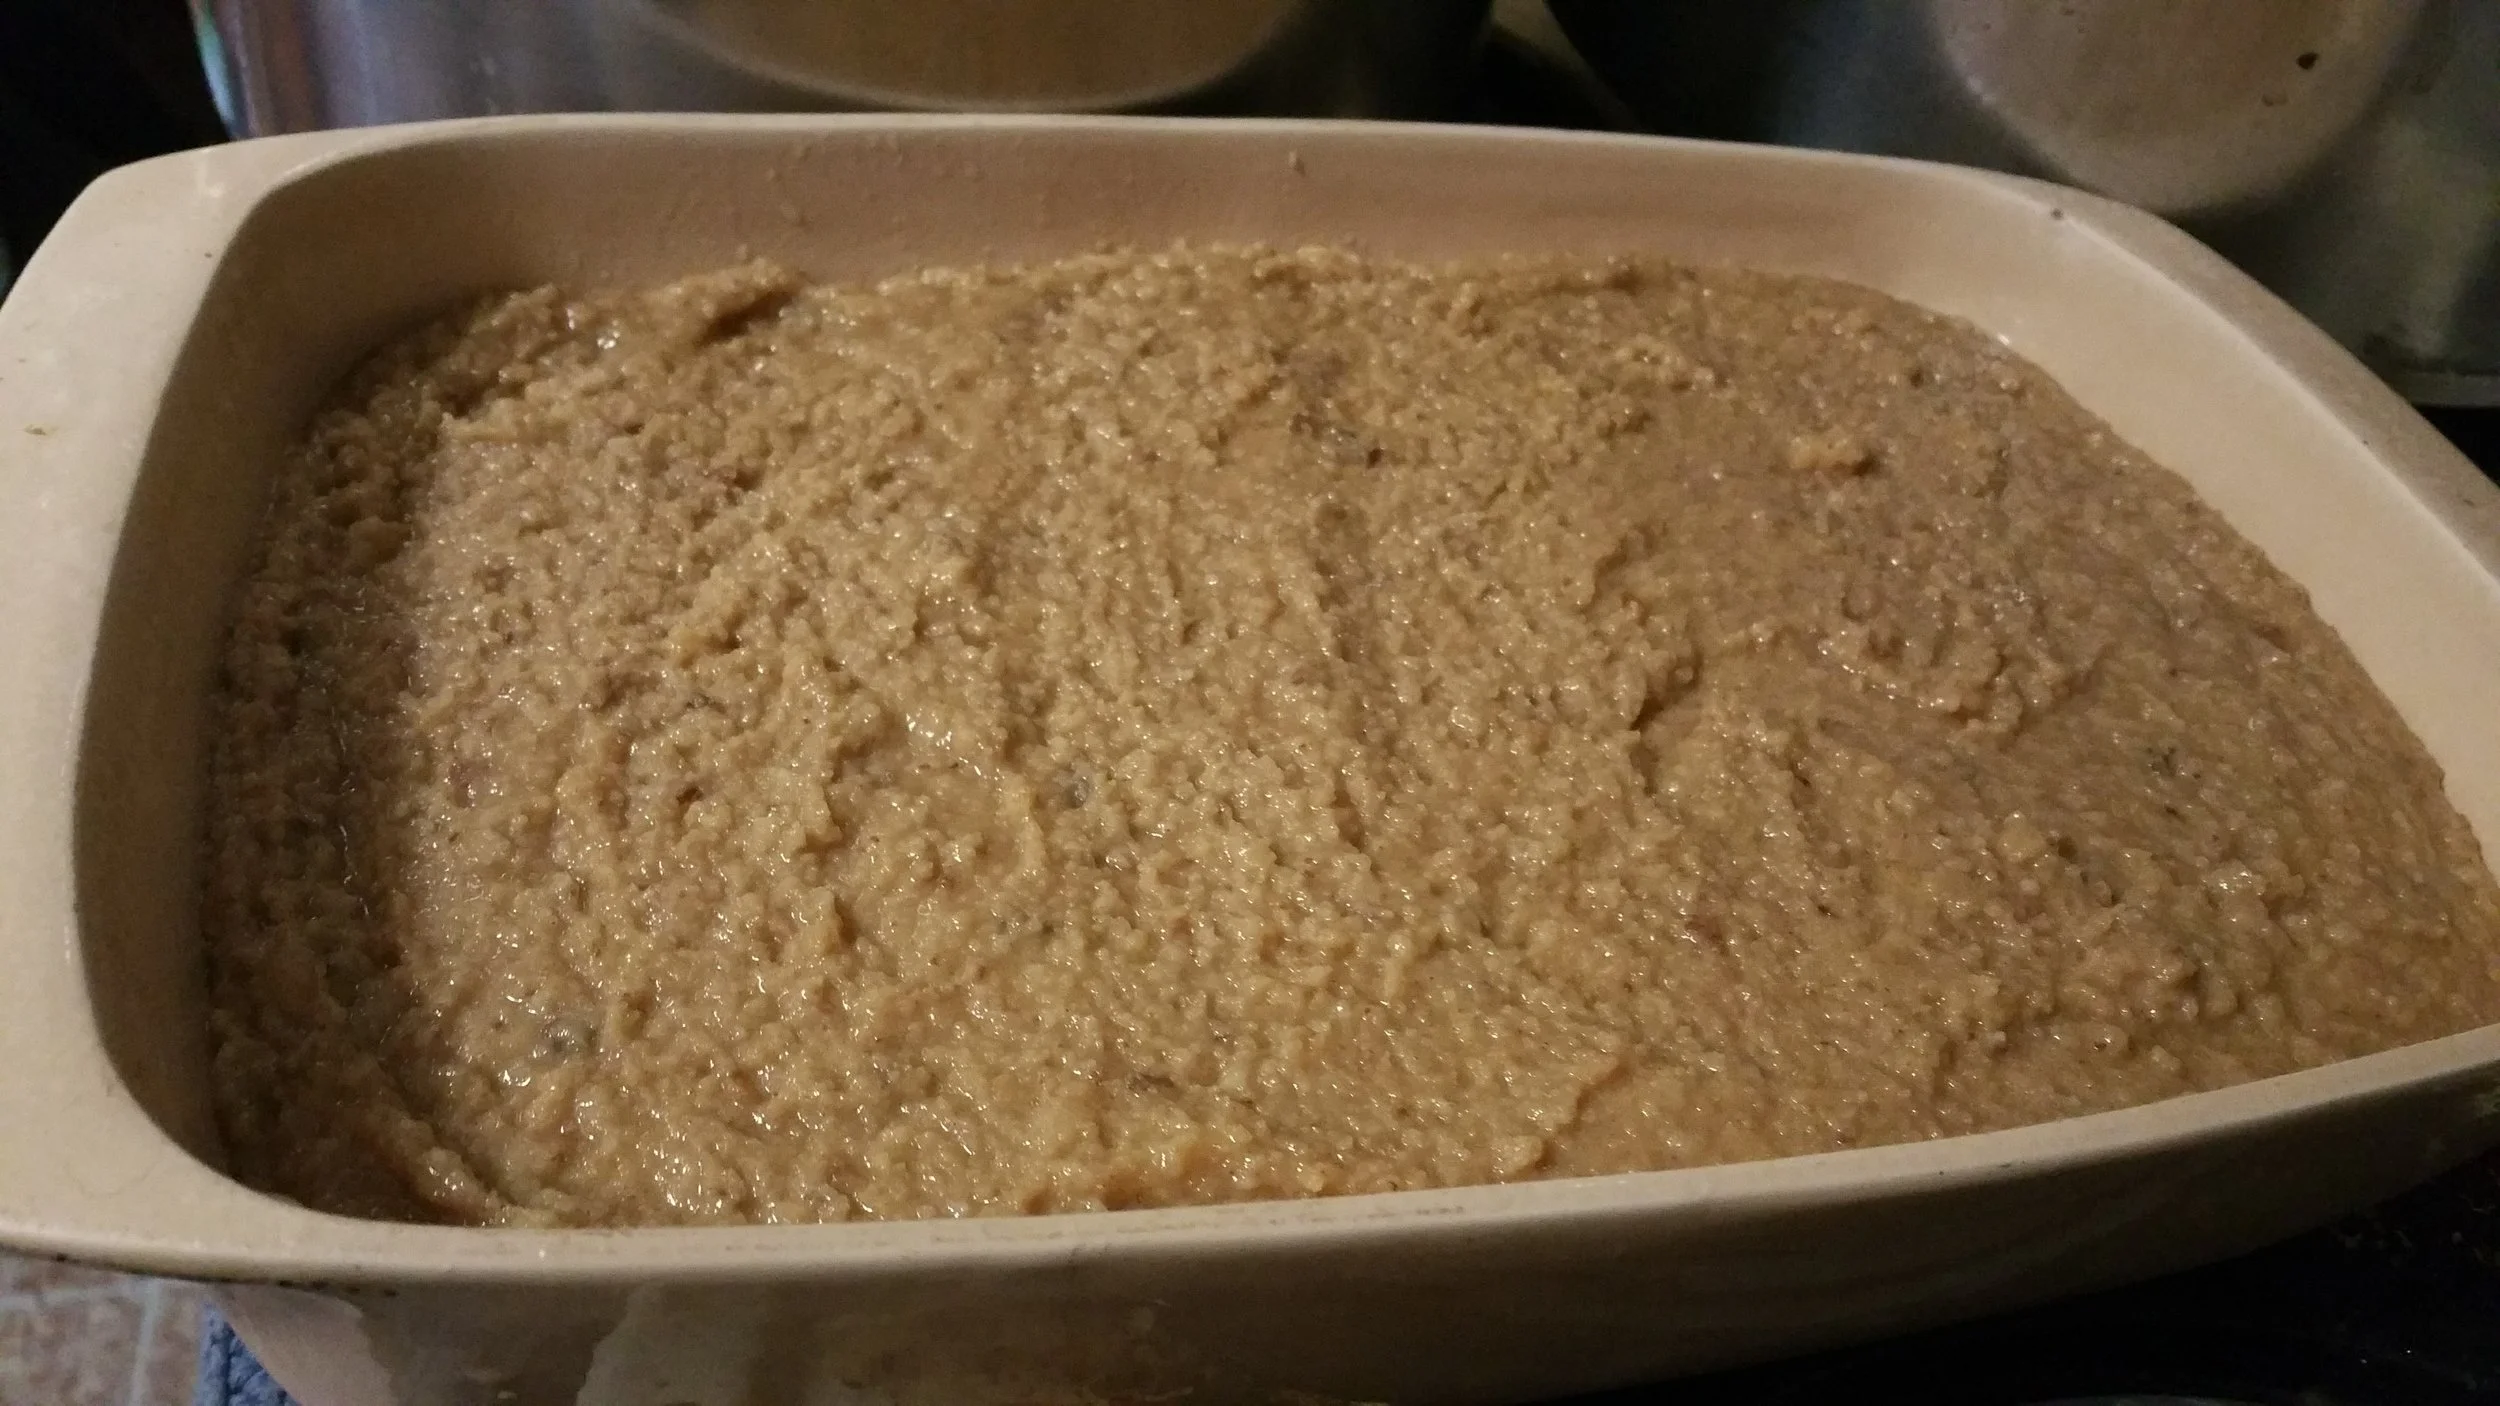
When I first made soap I was hand mixing, but it took a long time. I used improvised molds such as this loaf pan lined with parchment paper.
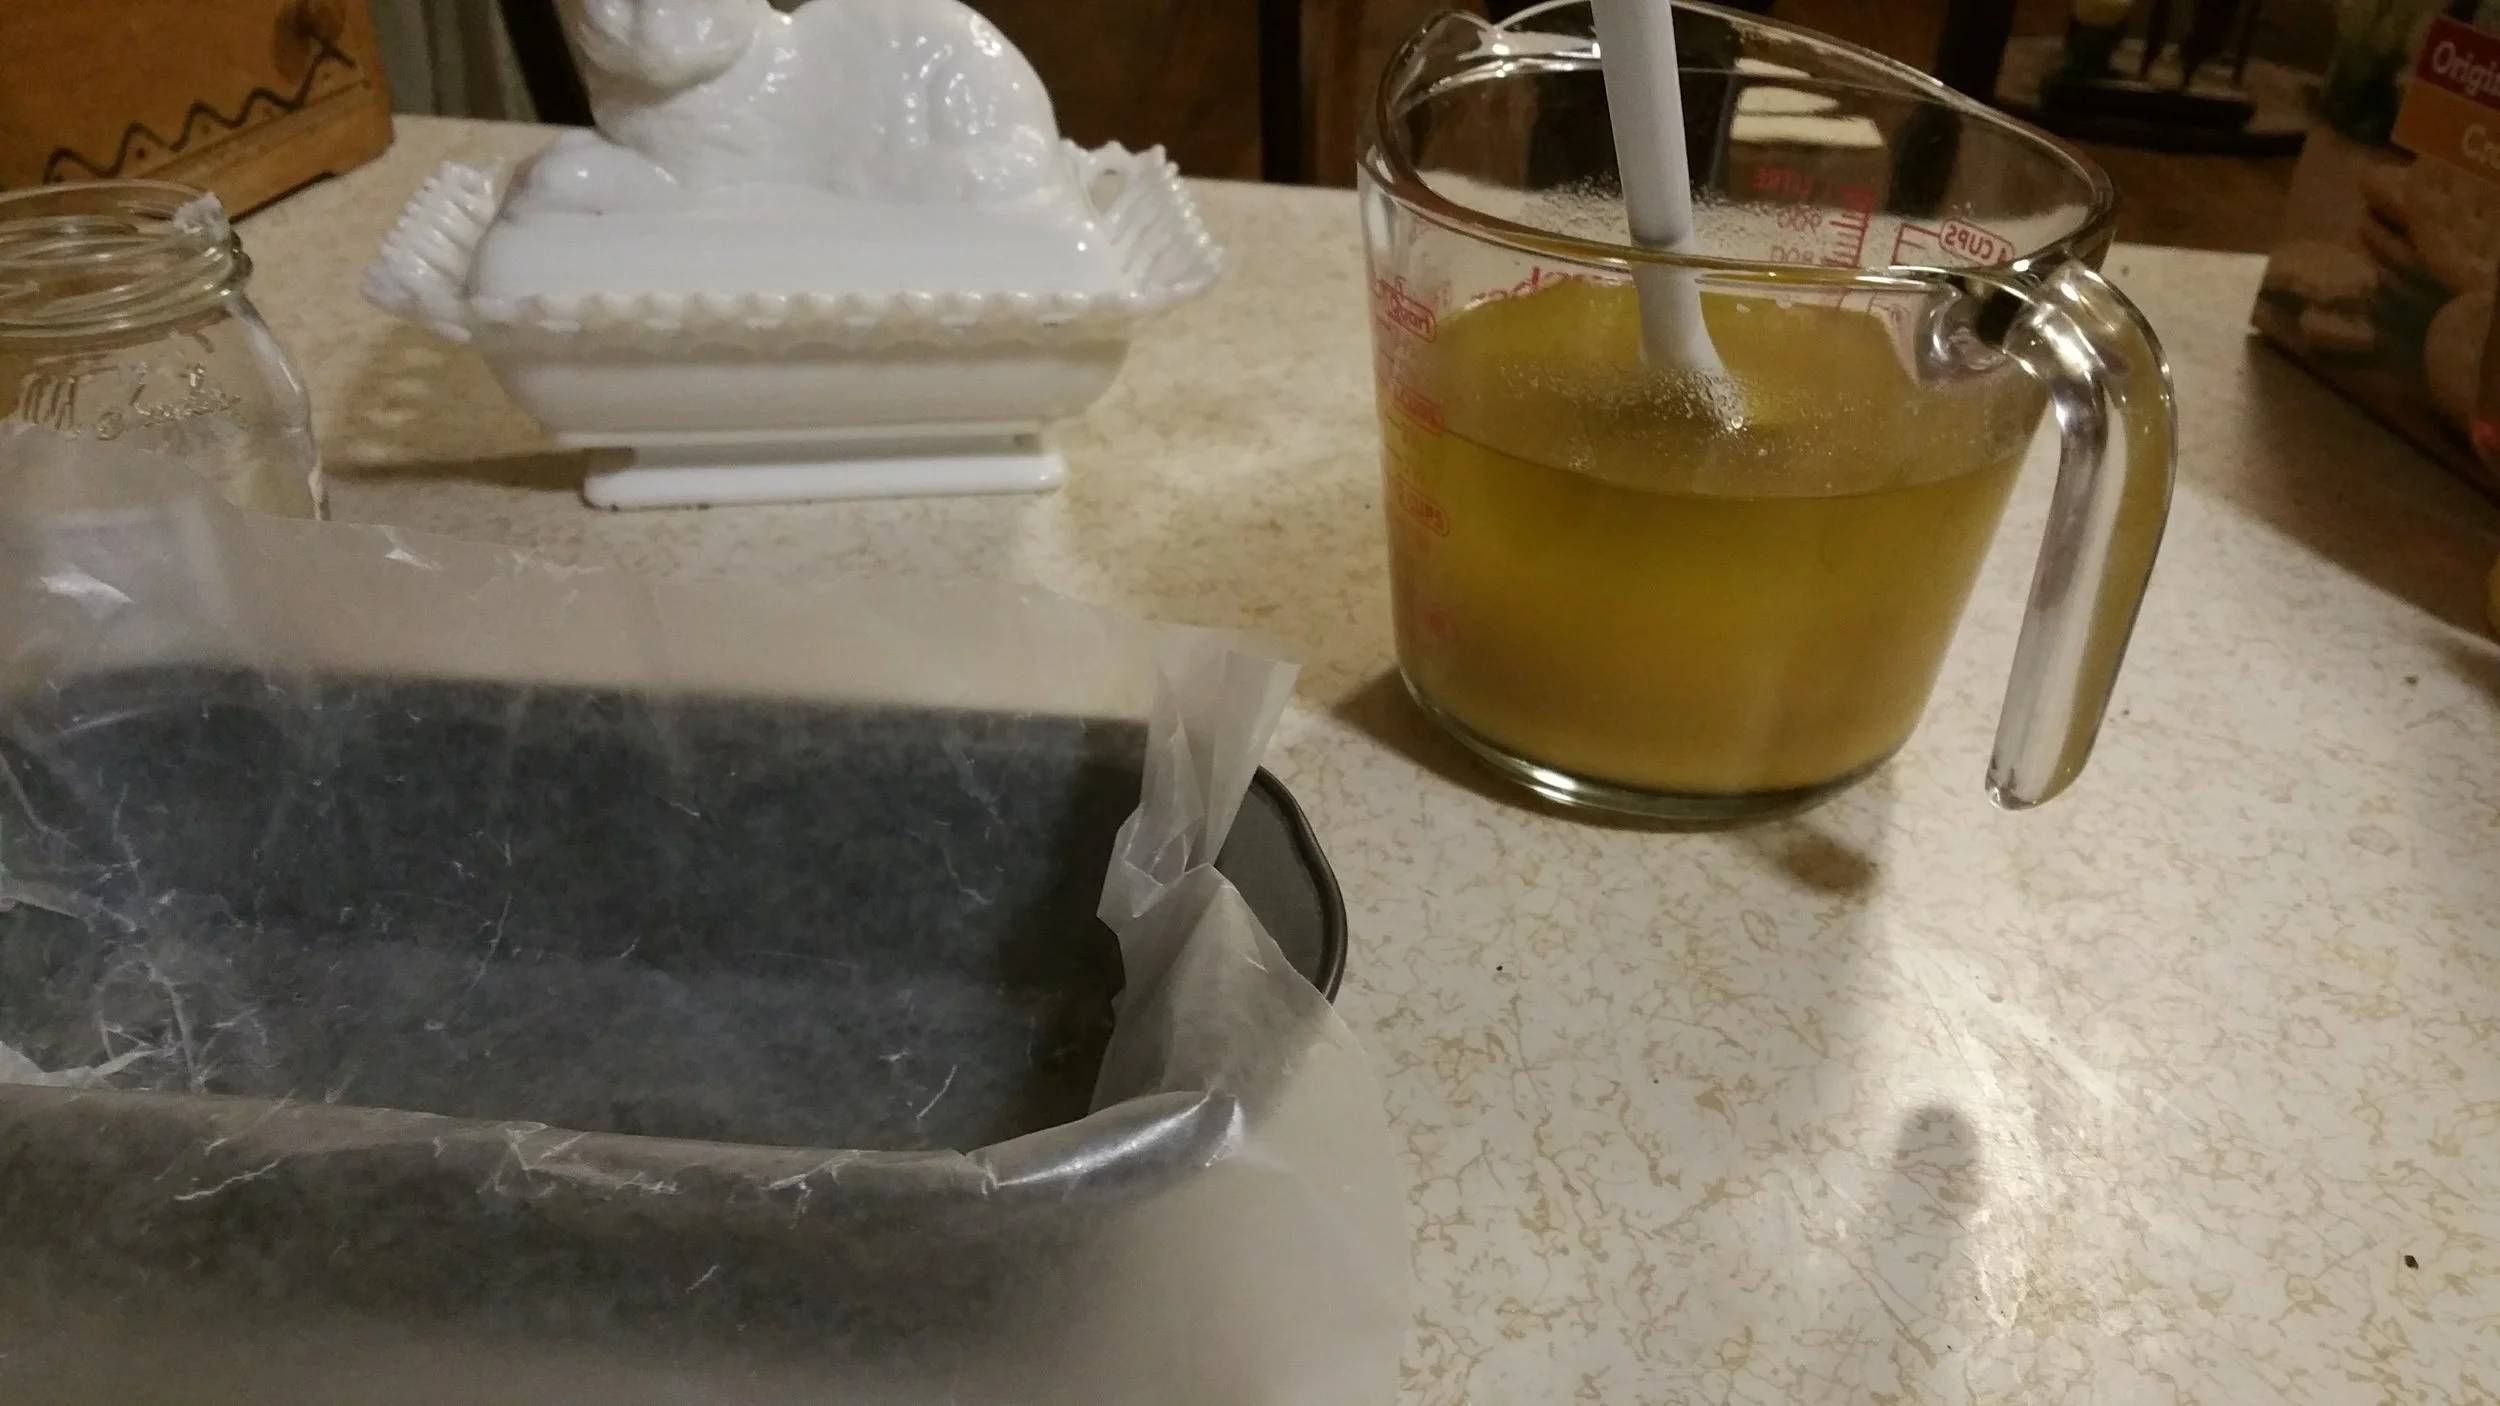
I start by mixing my oils together in a stainless steel mixing bowl. Remember to measure everything by weight. Then, in a separate glass container, I mix my milk and lye. I freeze my milk beforehand in ice cube trays. Starting with frozen milk is helpful because as the lye reacts with the milk it heats up. If it gets too hot, the milk sugars will scorch, turning a horrible brown color. I pop out the ice cubes until I get pretty close to my 13 oz, say about 11 oz or so, then I add just enough fresh milk to bring it to the perfect weight. Slowly, slowly add your lye to your icy milk. I even put the glass container of icemilk into a bowl with ice water, to keep the temperature really low. Lye creates a chemical reaction with the milk, and it heats up to be quite warm. Stir constantly as you add your lye, and when it doubt SLOW DOWN. Don’t rush this part of the process. Your milk will turn a shocking, bright yellow at some point in this process - don't worry that is normal although I never get used to it. However if it turns brown, you went too fast and scorched the milk - start over.
Once the lye is incorporated into the milk, pour it into your mixed oils. I use a stick blender (a cheap one from Walmart) to blend my oil/lye mixture. You want to blend until you reach a thin trace – kind of like a watery pudding. How quickly you reach trace depends on a variety of factors, including the ambient temperature. Just be patient.

If you don’t have a stick blender you can try to hand mix this but it will literally take you HOURS. I tried it, spent two hours hand mixing, finally gave up and just poured it into molds. I still ended up with soap but it was a lot more effort.
Once you reach a thin trace, add your essential oils, frangrances, colors, clays and other matter. I don’t use colorants or frangrance oils, but I do use essential oils, so this is when I would add my 2 oz of essential oil blend and any honey, aloe, clay or dry matter like coffee grounds or dried herbs. For a fainter scent, use only 1 oz essential oil blend. Some great essential oil blends are mint and clove, rosemary orange and ylang ylang, or tea tree and eucalyptus. (Unless your husband hates tea tree and forbids you from ever making soap with it again. Ahem.)
Continue blending to incorporate the essential oils and other additives, and the trace should thicken. Some essential oils speed trace up – like clove essential oil – so if using one of those be aware and work fast! Have your molds prepared ahead of time. Once everything is incorporated and you’ve reached a medium trace - about the consistency of melted chocolate or cake batter - pour your soap into molds and insulate if needed.
I use these silicone molds. You could also use a loaf mold or cute formed plastic molds. When I first started making soap I used an old 8” baking pan lined with wax paper or pringles cans. If you’re using a cardboard box, pringles can, etc, be sure to line it with wax paper.
After about 48 hours, your soap should be hard enough to pop out of the molds. Sometimes this takes longer, depending on the room temperature and pure luck I think. I have noticed that those fancy plastic soap molds seem to need longer before the soap is ready to pop out. Once you've got it out of the mold you can cut it into smaller bars if desired. Set the bars somewhere they can get good airflow but out of the way so that they can cure. They need to cure for 4 to 6 weeks, during which they will harden. Flip them over occasionally as they cure, so that all sides are exposed to air flow. On top of the fridge works well, but a closed up cabinet won't work as nicely. Once your soap is cured it is ready to be used or given as gifts.
Soap making is a fun process with a lot of room for creativity, don’t be afraid to give it a try!

Soap curing.